How do I add images to my products?
Every product needs at least one image — without one it stays hidden from buyers. Here's how to add, change, or fix product images.
This guide is for suppliers. Not you? Store owner guidesShopper guides
TL;DR: Every product needs at least one image. A product with no image is hidden from buyers — it won't show in storefronts and can't be ordered, even after it's approved. Add an image and it goes live again automatically.
Why a product might be hidden
If your dashboard says "X products need images," those products are approved but have no photo, so buyers can't see them. You can find them quickly with the Needs images filter on your product list — they're marked with a badge.
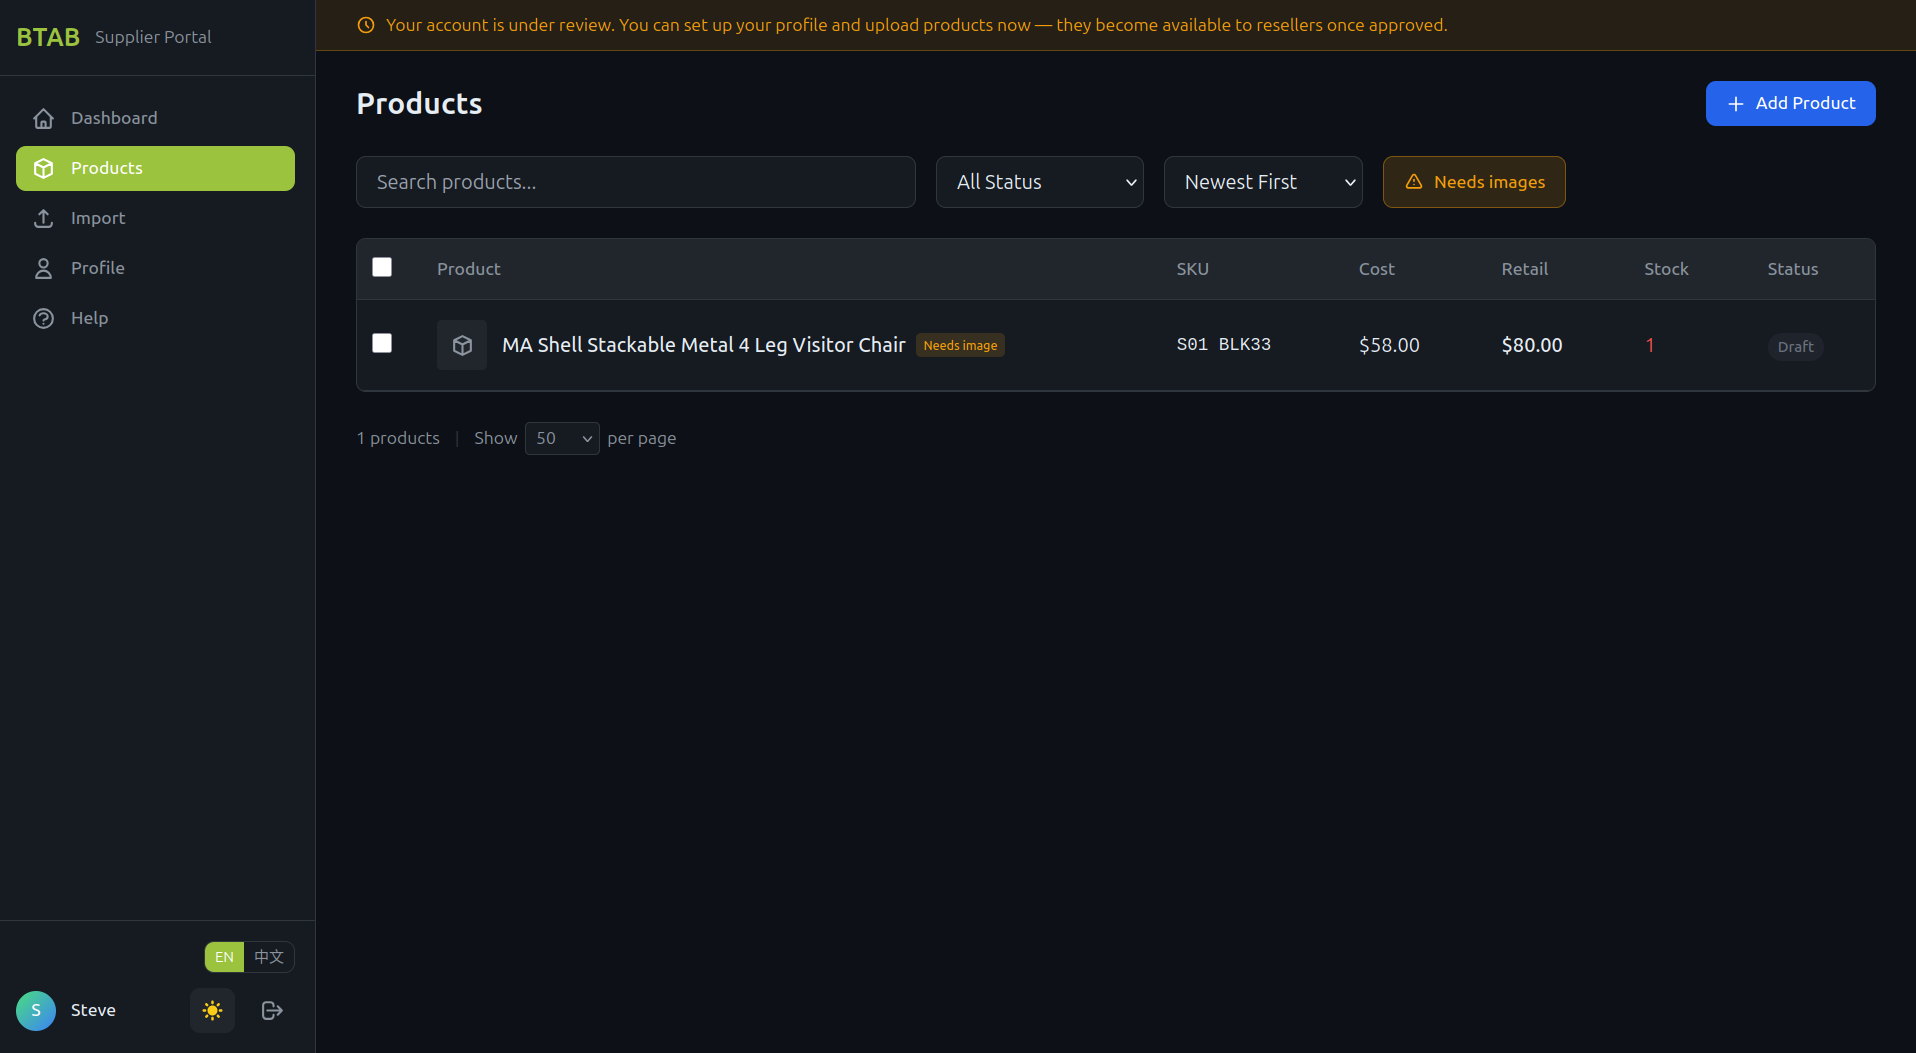
Adding one image fixes it. No re-approval needed.
How to add an image
Open the product and find the Product Images section, then click Add Images.
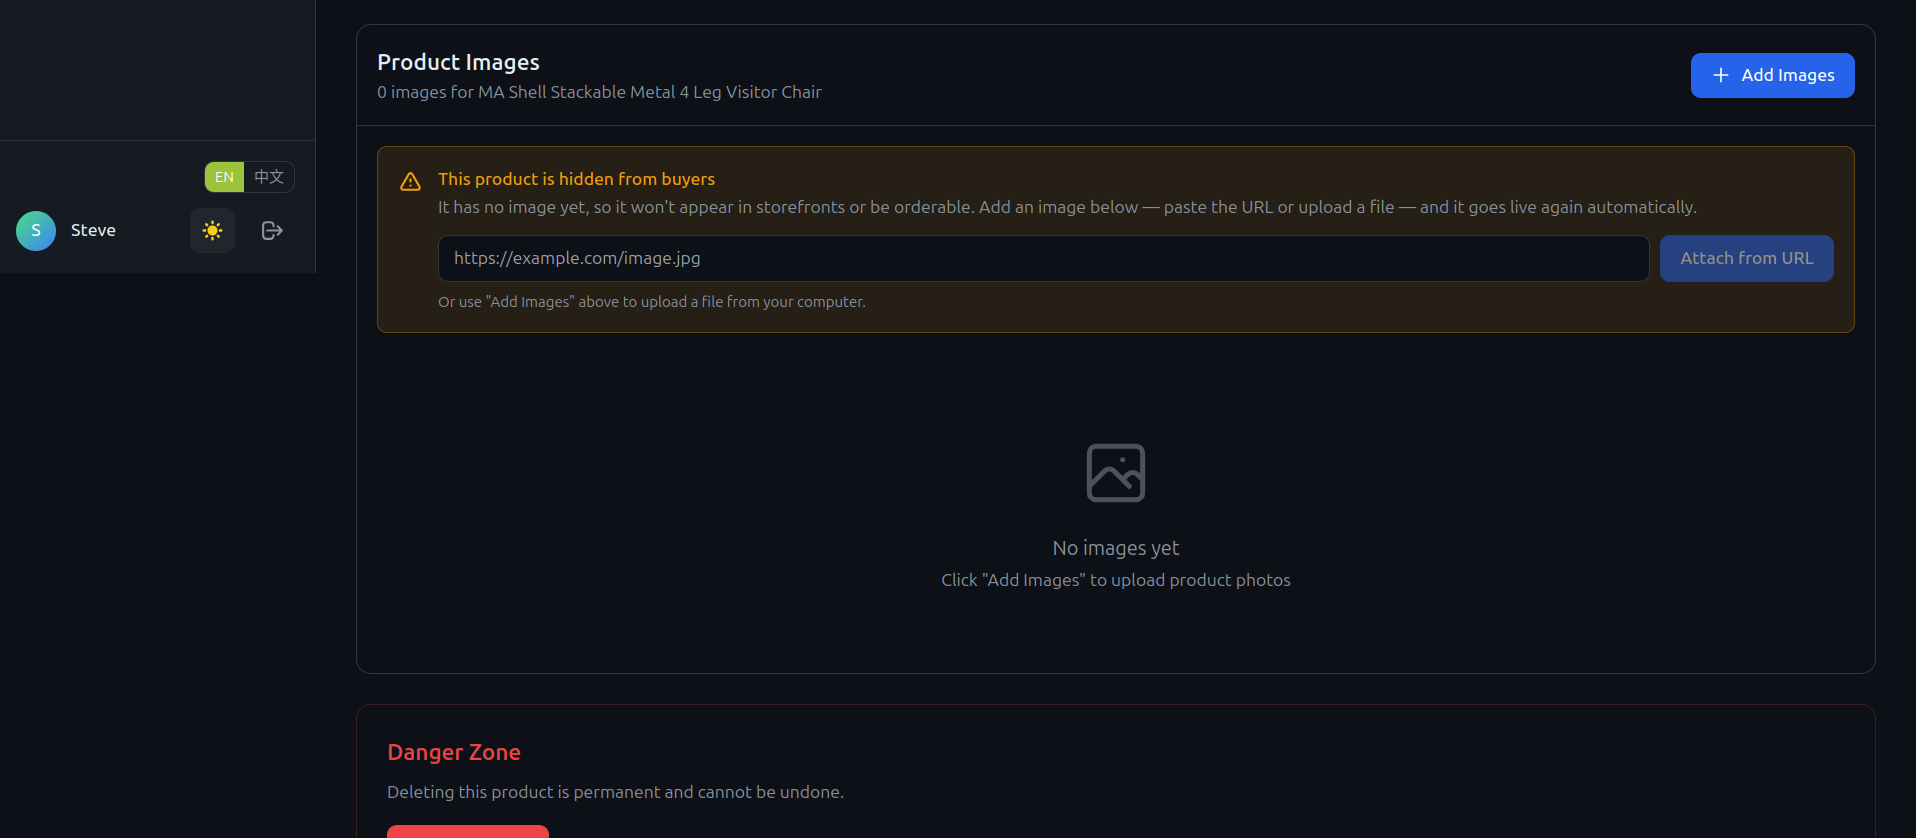
You have two ways to add a photo:
- Upload a file — drag and drop your photos, or choose files from your computer.
- From URL — paste a direct link to an image (one ending in
.jpg,.png, or.webp). We fetch it and store it for you.
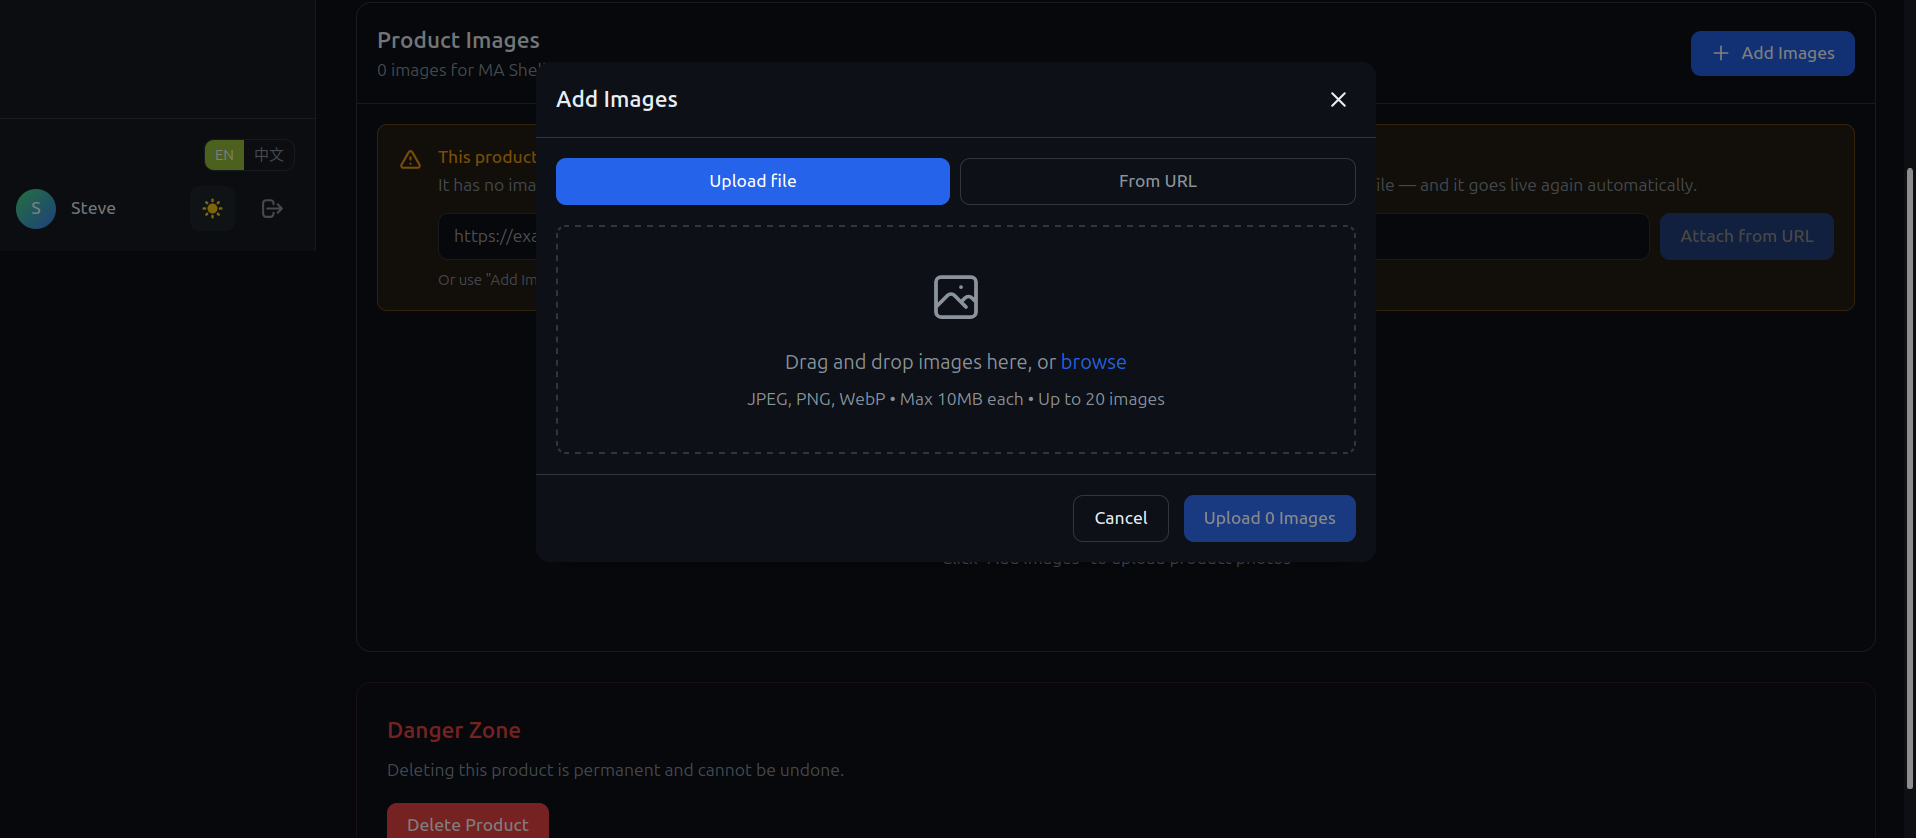
The image saves to the product right away.
Image requirements
- Formats: JPEG, PNG, or WebP.
- Size: up to 10 MB per image.
- How many: up to 20 images per product.
Use a clear, well-lit photo of the actual product. At least one is required to go live; more (different angles) helps the product sell.
Setting the main image
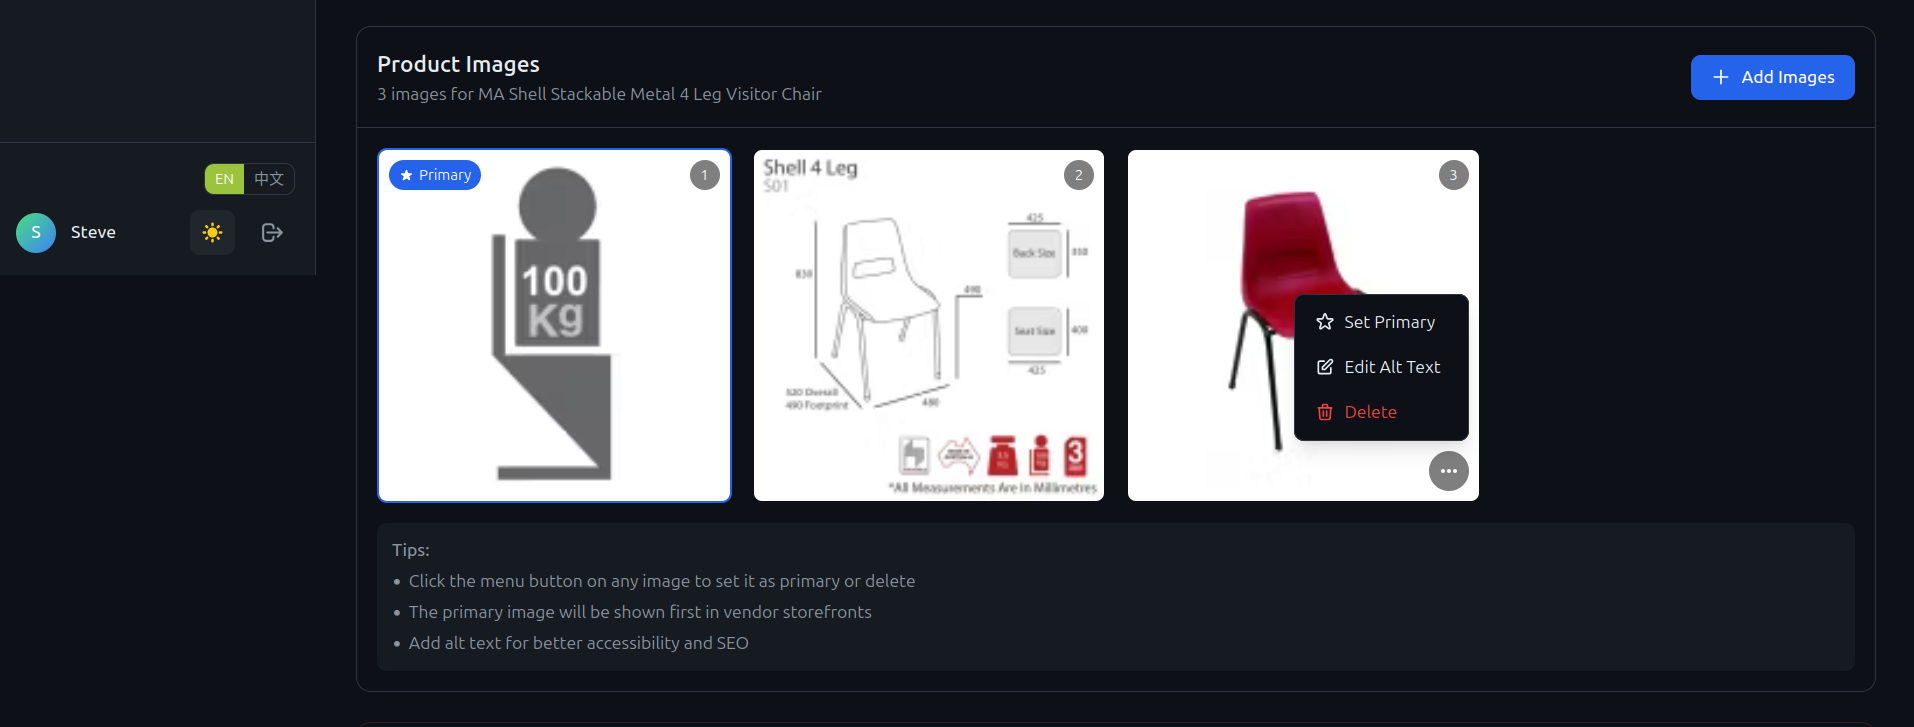
The first image becomes the primary one buyers see first. To change it, click the menu button (⋯) on any image and choose Set Primary. The same menu lets you delete an image.
Fixing a hidden product
- Open the product (or use the Needs images filter on your product list).
- In Product Images, click Add Images and upload a file or paste a URL.
- Done — the product goes live again automatically. No need to wait for another review.